 VS Code
Set up Hostwares in VS Code
Chat with AI to build your app, then deploy it to Hostwares — all inside your editor. You don't need to know any commands. Pick one of the two ways below and you'll be building in about a minute.
One-click setup
This installs everything for you: VS Code (if you don't have it), the Hostwares extension, and the tools it needs. Nothing to configure. It skips anything you already have and never touches your existing setup.
macOS / Linux (Terminal)
Paste this into your Terminal and press Enter.
On Windows instead? Show that command
Windows (PowerShell)
Paste this into your PowerShell and press Enter.
- ✓VS Code (if missing)
- ✓Hostwares extension
- ✓AI coding tools
- ✓Git (if missing)
Takes about 30–90 seconds. No admin password needed.
Before you start
A Hostwares account. You'll sign in with it from the extension. Create one free →
VS Code — a free code editor from Microsoft. The one-click setup above installs it for you, or download it here.
Or install it yourself
Prefer to do it by hand, or the one-click setup didn't run? Follow these five steps.
Open VS Code
If you don't have it yet, download VS Code and install it like any other app, then open it.
Install the Hostwares extension
Download the extension file, then drag it into VS Code's Extensions panel — or use the menu Extensions → “Install from VSIX…” and pick the file you downloaded.
To open the Extensions panel, click the squares icon in the left bar, or press Cmd/Ctrl Shift X.
Open the Hostwares panel
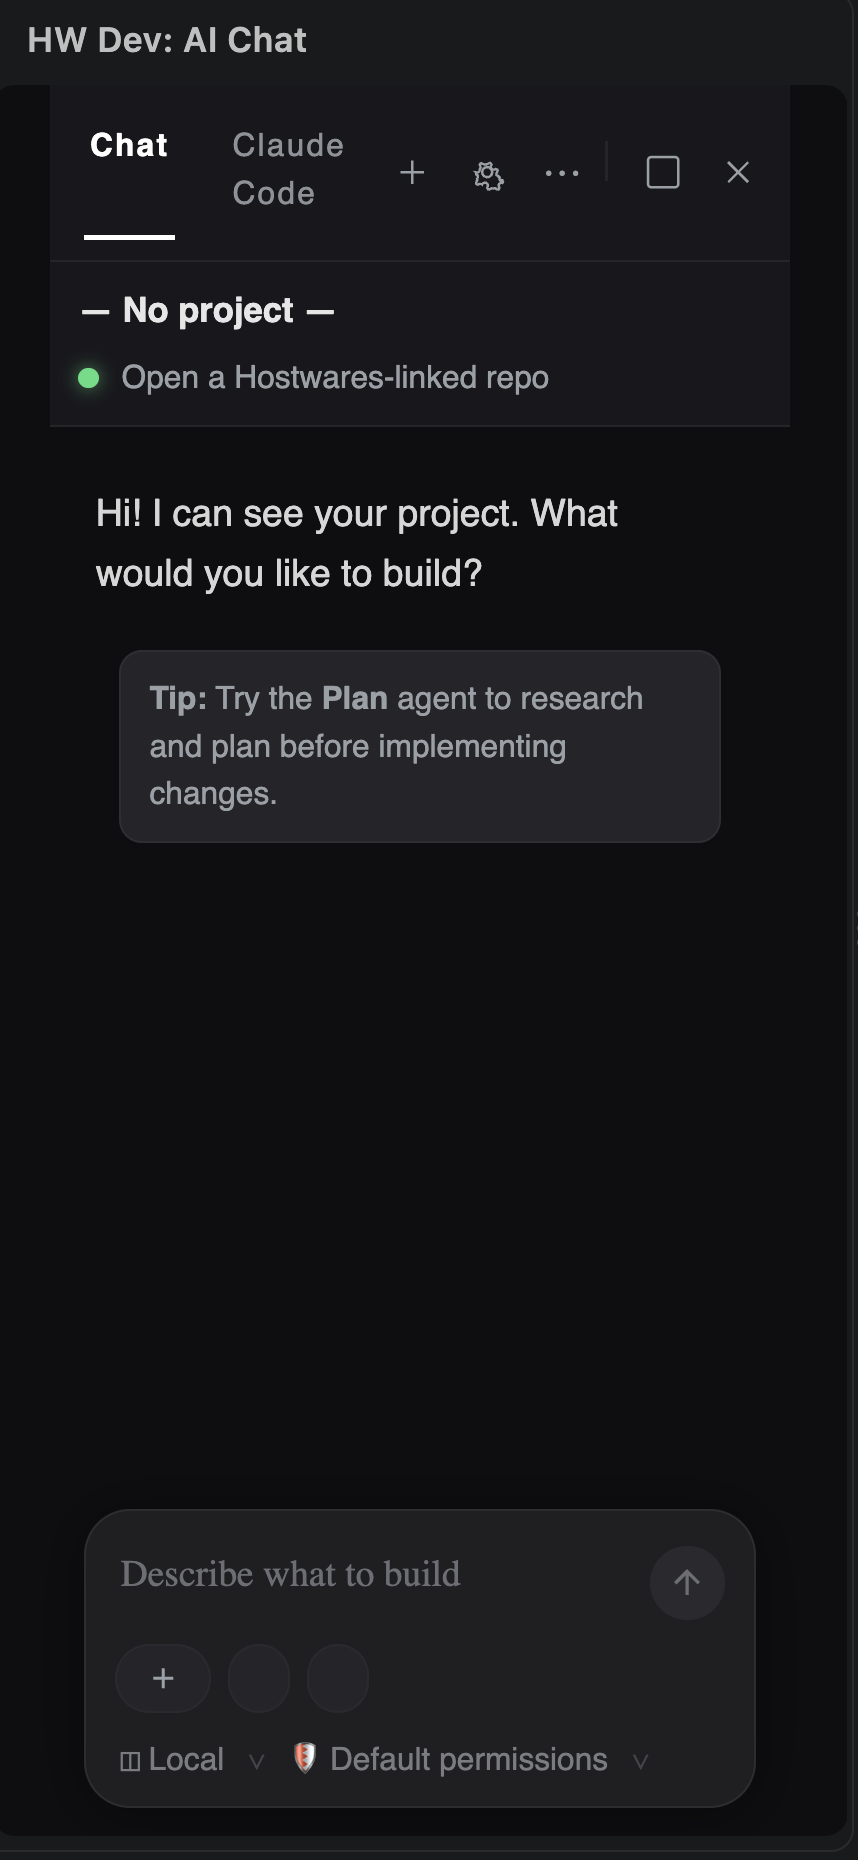
Look at the vertical bar on the far left of VS Code (the Activity Bar). Click the green “H” Hostwares icon to open the chat panel. If you don't see it right away, reload the window (see Troubleshooting below).
Sign in
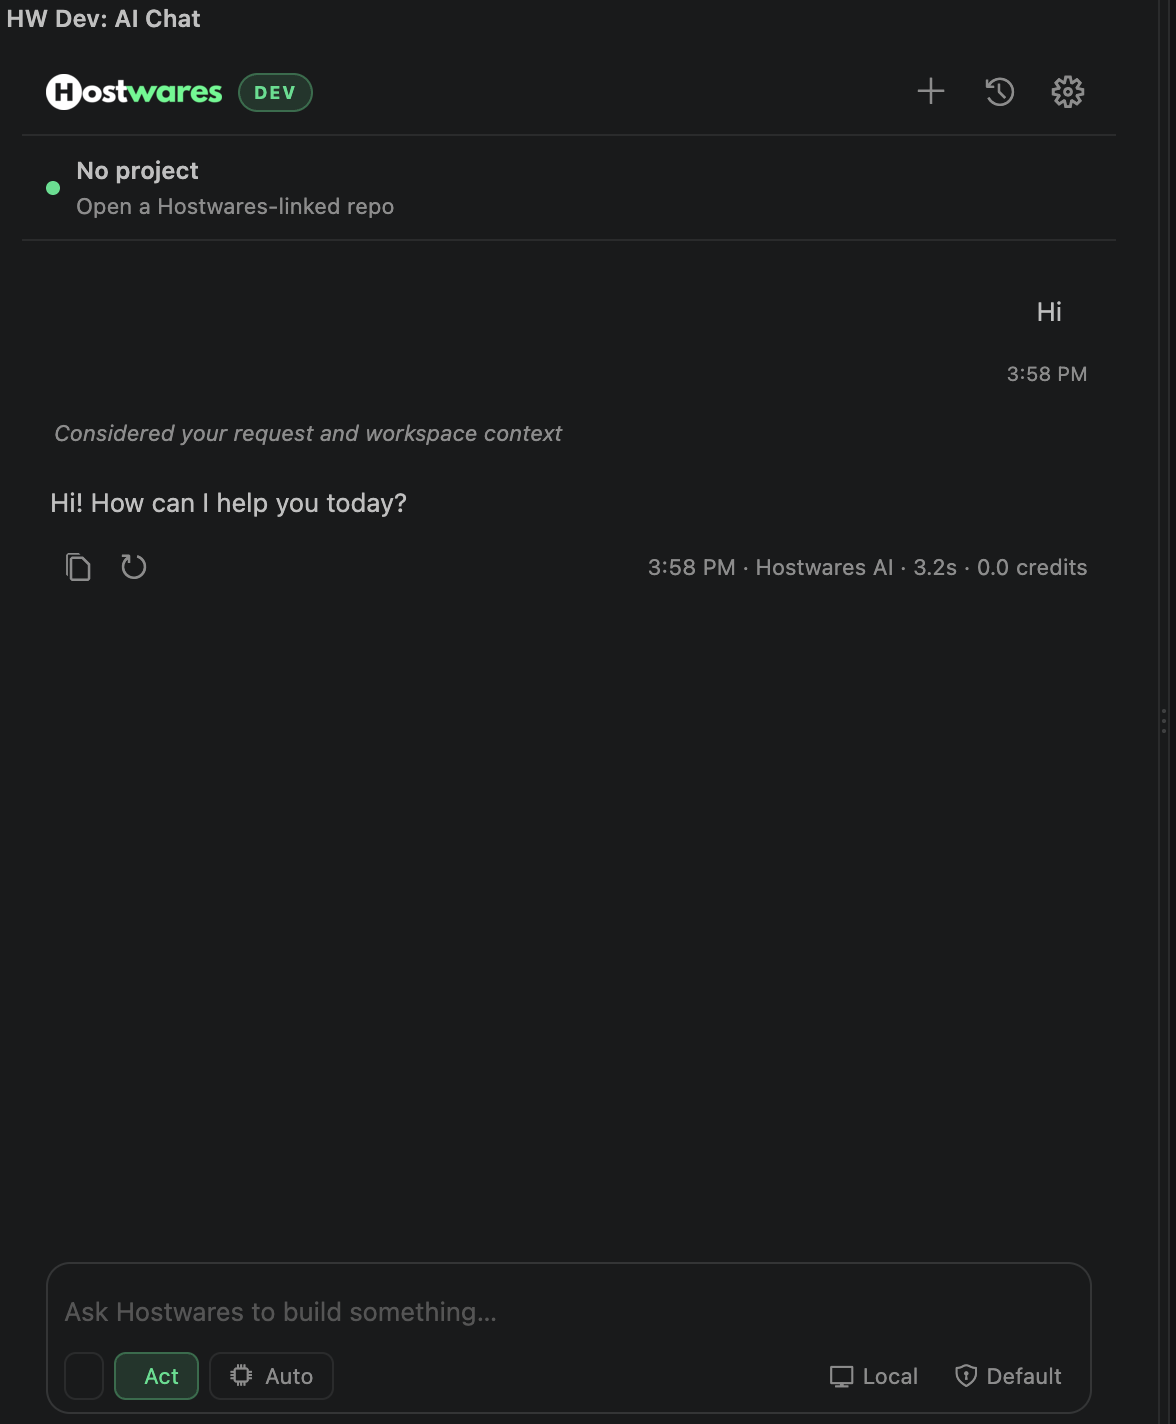
The first time you open the panel, click Sign in with Browser. Your browser opens, you approve, and the panel connects to your account automatically. Your credit balance then shows at the top of the panel.
Start building
Type what you want to build in the box at the bottom — for example, “add a contact form to my site” — and press Enter. Hostwares writes the code for you and can deploy it when you're ready.
If something isn't working
I don't see the green Hostwares icon▾
Reload the window: press Cmd/Ctrl + Shift + P, type “Reload Window”, and press Enter. The icon appears in the left Activity Bar after the extension loads.
The extension won't install▾
Make sure VS Code is up to date (Help → Check for Updates), then try the drag-and-drop install again. The one-click setup at the top handles this automatically.
It asks me to sign in every time▾
Finish the browser step fully — you should land on a “you can close this tab” page. If it still asks, sign in from the panel using “Sign in with Browser” once more.